-
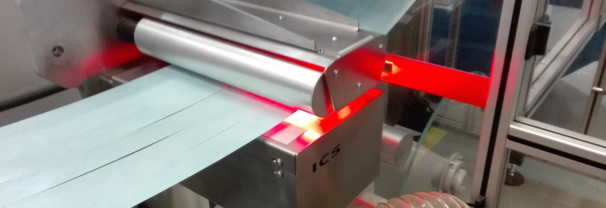
2D machine vision systems.
Design and implementation of inspection and measurement systems.
-
3D vision systems based on laser triangulation technique.
Design and implementation of 3D measurement systems.
-
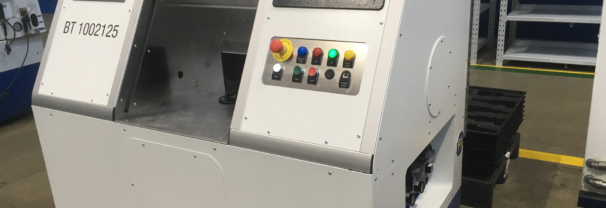
Inspection, measuring and marking machines.
Design and manufacture of inspection, measurement and marking machines.
-
FLOW CONTROL SYSTEMS and TRACEABILITY production control systems.
Design and implementation of production control systems.
About us
ICS Industrial Control Systems was established in 2004.
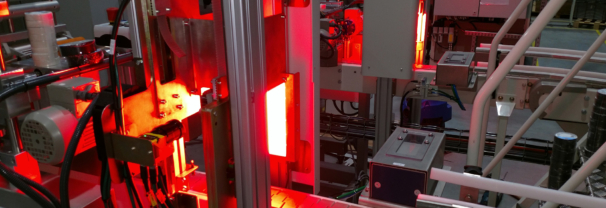
The main area of ICS company's activity is designing, production and implementation of machine vision systems, inspection machines, measuring machines and marking machines.
ICS also has experience in designing and implementing FLOW CONTROL SYSTEMS and TRACEABILITY systems.
In particular, ICS designs and delivers:
- 2D machine vision systems.
- 3D vision systems based on laser triangulation technology.
- Inspection, measuring and marking machines.
- Production control systems, FLOW CONTROL SYSTEMS and TRACEABILITY.
We carry out projects in Poland and in many other countries of the European Union.
Technically advanced industrial applications are a challenge that we take up in each of our projects. We build our cooperation with customers based on professional competence and mutual trust.
Services
Machine vision systems
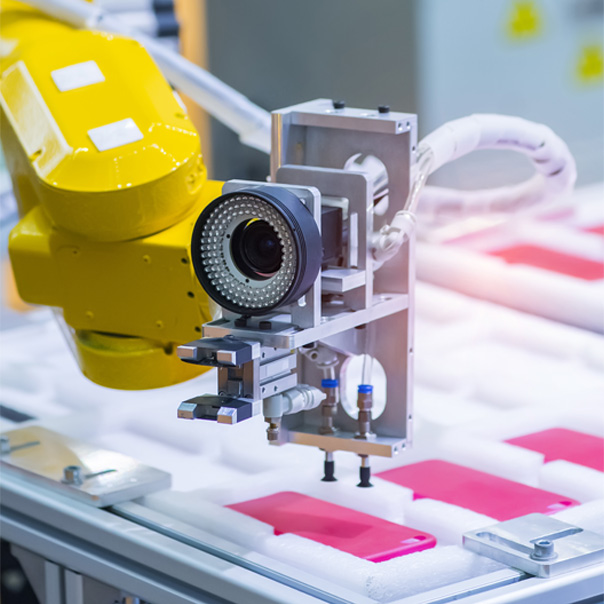
ICS has over 15 years of experience in designing and implementing machine vision systems. Machine vision systems are a field of technology that includes all 2D and 3D imaging technologies, image processing and analysis to perform the following operations:
- Check for the presence, absence of a specific element.
- Performing quality inspection, e.g. completeness of assembly, surface defects.
- Guidance of e.g. robot arm.
- Recognition/verification of alphanumeric characters OCR/OCV.
- Reading of codes e.g. 1D - bar codes, 2D Data Matrix.
- Precise measurements with the use of optical method.
A common approach to vision applications is to provide a turnkey solution, i.e. complete systems that can be quickly and easily configured and integrated into a production line or machine. Vision systems typically consist of components such as optics (lenses), illuminators, cameras and software. When designing and building a vision system, it is important to find the right balance between system performance and cost to achieve the best and desired result.
2D vision systems
Cameras used in vision systems can be divided into two groups:
- cameras for scanning the area (also called matrix cameras) and
- cameras for linear scanning.
The first one is simpler and less technically demanding, while the second one is preferred in situations where matrix cameras are not suitable, for example, for scanning large areas, tapes in motion.
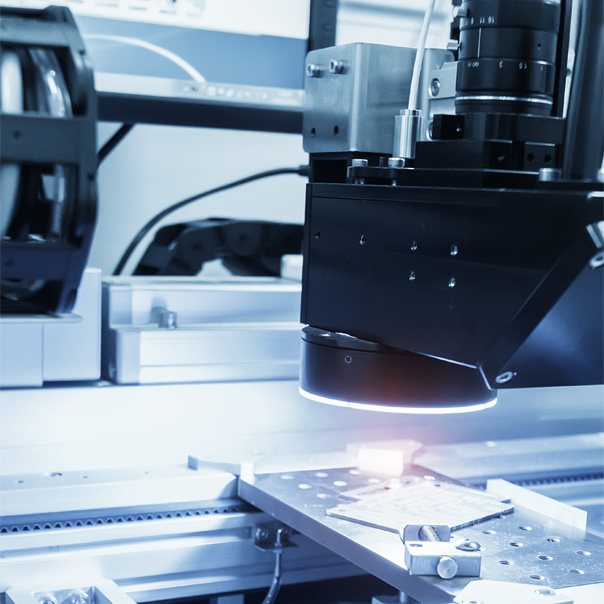
Scanning cameras capture 2-D images using a specified number of active elements (pixels), while line scan cameras have a single pixel array.
3D vision systems - Laser triangulation
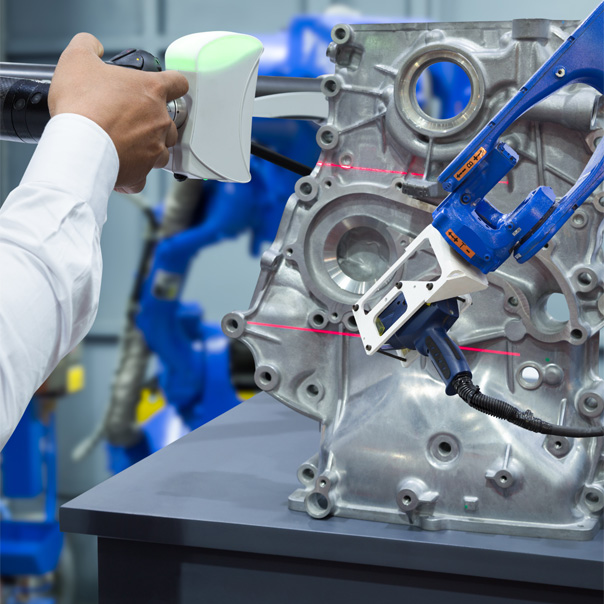
Laser triangulation is a machine vision technique used to record 3D measurements by combining a laser light source with a camera.
The laser beam and camera are targeted to the purpose of the control, but by using a known angular displacement (α) between the laser source and the camera sensor, it is possible to measure depth differences using trigonometry.
Production control systems TRACEABILITY/FLOW CONTROL SYSTEMS
We have experience in the design, development, programming and implementation of quality control software. Our offer includes TRACEABILITY/FLOW CONTROL SYSTEMS applications. Such systems ensure communication between the database and production machines in order to archive production data and block defective products so that they cannot be transferred to further production processes. This communication can be realized by means of company communication networks, communication protocols designed for specific devices or using OPC (OLE for Process Control) technology.
The term 'TRACEABILITY' means 'tracking and tracing'. It refers to the completeness of the product information and of each stage of production. A commonly accepted definition is: traceability is the ability to chronologically bind uniquely identifiable units (parts, products) together in a verifiable way. In other words, traceability is the ability to verify the history of a product, its location through documented identification.
Currently, TRACEABILITY systems are usually dedicated systems. It is difficult to develop and use universal systems in such cases, which are characterized by very individual requirements of data integration and functionality. Dedicated systems not only best solve the most important problems, but are also optimal in terms of time and cost of implementation. The production database created by these systems can be used by MES (Manufacturing Execution System) or ERP (Enterprise Resource Planning) systems.

In particular, the TRACEABILITY system allows for:
- communication with production equipment,
- displaying the status of component manufacturing operations on production workstations,
- writing into a database of information about manufactured components,
- blocking for further assembly of components if previous production operations were incorrect or if the component identification label has been repeated,
- editing data for product types that appear on the labels affixed to the product,
- printing of labels identifying the product,
- assigning different formats of printing identification labels to the product type,
- database querying, browsing and saving reports on manufactured components in the form of a file read e.g. by MS Excel,
- comprehensive system configuration (including communication ports, work shift diagram, production slot data) with the option of switching on and off faulty components,
- viewing system events in the system log,
- registration and deletion of authorised system users,
- protection of access to the system by means of a password or a hardware access key,
- touch operation with virtual keyboard.
Inspection machines, measuring machines and marking machines
ICS company has experience in designing and manufacturing machines and equipment for quality inspection, measurement and marking.
For quality inspection of products we use machine vision systems and precise measuring instruments. We build machines based on precise telecentric optical systems and laser measuring technique.
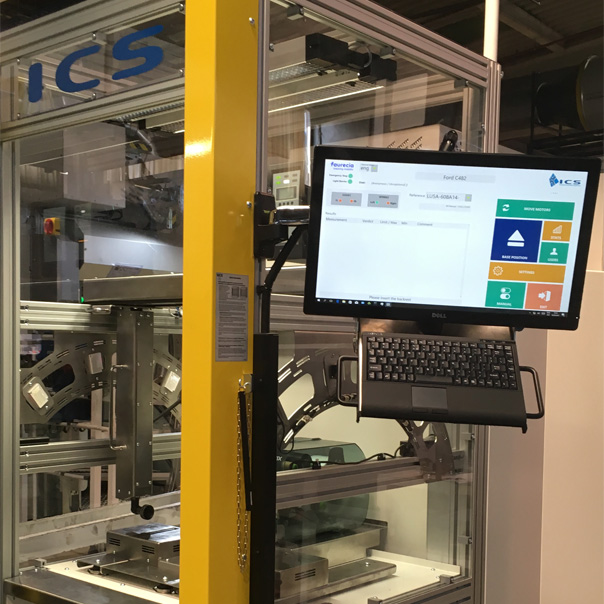
Depending on the application needs, we design machines and devices for:
- measurements of geometric features (length, width, height, diameter, angle, etc.),
- mechanical parameters (force measurement, torque),
- measurement of vibration/noise levels,
- measurements of electrical parameters (voltage, current, resistance),
- surface quality analysis,
- analysis of the completeness of the assembly,
- quality analysis of 1D and 2D codes.
and many others.
We build machine control systems based on industrial computers and real-time operating systems and PLCs according to customer requirements. In the machines built by us we use both mechanical (pin stamp) and laser marking and engraving.
Projects
Contact
Business address:
ICS Industrial Control Systems
ul. Duńska 9
54-427 Wrocław
e-mail: biuro@icsystems.pl
tel. +48 71 723 48 90
Krzysztof Skura - Owner of the company
tel. +48 609 625 129
e-mail: k.skura@icsystems.pl
Registration data (VAT):
ICS Industrial Control Systems
Krzysztof Skura
ul. Wykładowa 53A
51-520 Wrocław
NIP 898-111-36-98
